Building this portfolio: motion, shaders, and a CMS
A quick tour of how this site is put together - Next.js 16, Framer Motion, a WebGL hero, and a Supabase-backed admin for projects, blog, and tools.

I have a soft spot for portfolios that feel like a place rather than a resume. So when I rebuilt mine, I gave myself one rule: every flashy thing has to earn its keep. The WebGL hero, the inertial scroll, the admin panel where I write this very post - none of it is decoration for its own sake. Each piece solves a real problem, whether that is "make the landing feel alive" or "let me publish a blog post from my phone on the bus to Moratuwa."
This is the first post on the new site, so it makes sense to open the hood. I will walk through how it is actually built: a Next.js 16 app, Framer Motion for the choreography, a hand-ported fluid-simulation shader for the hero, and a Supabase-backed CMS that powers projects, this blog, and the developer tools. Real code, real trade-offs, and the bits I would do differently.
If you are a student or a developer thinking about building your own, my hope is you walk away with patterns you can lift straight into your project, not just "wow, nice site."
The stack, and why each piece is here
The shape of the project:
- Next.js 16 with the App Router and React 19. Server components for data fetching, client components only where I genuinely need interactivity.
- Framer Motion for scroll reveals, staggered lists, and hover physics.
- Three.js for the WebGL hero - a real-time fluid simulation, not a looping video.
- Lenis for inertial scrolling that makes the whole page feel like one continuous surface.
- Supabase (Postgres, Auth, and Storage) as the backend for the admin CMS.
- Tailwind CSS with the typography plugin for the article body you are reading now.
The guiding principle is a split. Marketing-facing pages stay mostly static and server-rendered for speed and SEO, while the heavy interactive stuff is isolated, lazy, and guarded. Nothing expensive runs unless it is actually on screen. That one rule shaped almost every decision below.
The hero: a fluid sim pretending to be a mask reveal
The hero is the part people ask about most. Move your cursor over my photo and a liquid blob follows it, eroding a wobbly hole that reveals a second image underneath. It is a faithful port of the Framer "Hover Mask Reveal" component, rebuilt in plain Three.js so I own every line and can profile it myself.
Two things are happening under the hood. First, a GPU fluid simulation runs a velocity and density field at half resolution, re-stamping a gaussian splat at the raw cursor position every frame so the blob stays glued to the pointer instead of trailing off like thrown ink:
const SPLAT_RADIUS = 0.08;            // gaussian uses exp(-d^2 / r^2)
const SHRINK_TIME_SECONDS = 2.4;      // density decays to 1% over this window
const DENSITY_DISSIPATION = Math.pow(0.01, 1 / (60 * SHRINK_TIME_SECONDS));
const PRESSURE_ITERATIONS = 16;       // reference uses 25; 16 is visually identical here
That DENSITY_DISSIPATION line is worth pausing on. Instead of hard-coding a magic decay factor, I derive it from a duration I actually care about. "Fade to one percent over 2.4 seconds at 60fps" is a sentence I can reason about. The per-frame multiplier is just the math that makes it true, so tuning the feel never means guessing at a constant.
Second, a fragment shader takes that density texture as a mask, erodes its rim with two octaves of simplex noise to get the liquid edge, then blends between a "back" and "front" image:
float density = texture2D(uMaskTexture, vUv).r * CIRCLE_BOOST * uProgress;
float reveal = pow(density, 1.5);

float mask = 0.0;
if (reveal > 0.35) {                  // ~95% of pixels skip the expensive noise
    float n = (snoise(vUv * 4.0) + snoise(vUv * 8.0) * 0.5) * 0.7;
    mask = smoothstep(0.35, 0.55, n * NOISE_STRENGTH + reveal);
}
vec4 finalImage = mix(back, front, mask);
The performance work matters more than the effect itself. A naive version of this tanks scroll FPS and melts laptop batteries. The fixes that actually moved the needle:
- Pause everything off-screen. An
IntersectionObserverflips avisibleflag, and the render loop returns early when the hero is out of view or the tab is hidden. This was the single biggest win for laggy scrolling. - Sleep when idle. Once the blob is fully shrunk, the canvas is just a static image. The loop draws one final frame and stops re-rendering until a pointer event wakes it.
- Skip the noise where it cannot matter. The grain only ever erodes the mask, so pixels that cannot clear the
smoothstepfloor are branched out before the twosnoisecalls, and that is most of the screen on any given frame. - Do not even mount it on mobile. Phones get a lightweight
<MobileHero/>; the simulation is gated behind amin-width: 768pxmedia query, so a hidden canvas never quietly runs a full sim in the background.
That first point is the one most people skip, and it is mostly a few lines of plumbing:
const io = new IntersectionObserver(
  ([entry]) => { visibleRef.current = entry.isIntersecting; },
  { threshold: 0.1 },
);
io.observe(canvas);

function frame() {
  if (!visibleRef.current || document.hidden) {
    raf = requestAnimationFrame(frame);   // stay scheduled, do no work
    return;
  }
  stepSimulation();
  renderer.render(scene, camera);
  raf = requestAnimationFrame(frame);
}
The hardest part of a fancy hero is not making it look good once. It is making it cost nothing the 99% of the time nobody is interacting with it.
Motion that respects the reader
Framer Motion handles the rest of the choreography: sections fade and rise as they enter the viewport, lists stagger their children, cards tilt under the cursor. The trick to making motion feel intentional rather than busy is a shared easing curve and a strict accessibility guard.
Almost every reveal uses the same cubic-bezier, an expo-out curve that decelerates hard at the end:
const variants: Variants = {
  hidden: { opacity: 0, y: prefersReducedMotion ? 0 : y },
  visible: {
    opacity: 1,
    y: 0,
    transition: { duration: 0.7, ease: [0.16, 1, 0.3, 1], delay },
  },
};
Notice the prefersReducedMotion check. Every animated component reads useReducedMotion() and collapses to a plain opacity fade when the user has asked their OS to reduce motion. The smooth-scroll layer is gated the same way: if reduced motion is on, Lenis never initialises and the browser's native scroll takes over completely. Slick animation is a nice-to-have. Not making someone motion-sick is not optional.
The smooth scroll itself is a thin wrapper around Lenis, exposed as a module singleton so other components - the scroll-to-top button, the command palette - can drive the same instance instead of fighting it:
const lenis = new Lenis({
  duration: 1.05,
  easing: (t: number) => Math.min(1, 1.001 - Math.pow(2, -10 * t)),
  allowNestedScroll: true,
});
That allowNestedScroll flag is not cosmetic. The tools pages have their own scrollable panes and textareas, and you do not want the page hijacking the wheel while someone is scrolling inside a JSON editor. Without it, the first bug report I would have gotten is "your site eats my scroll."
A CMS I actually own: Supabase and Postgres
I did not want to redeploy to publish a blog post or add a project. So the content lives in Postgres on Supabase, with a small admin app behind auth where I edit everything.
The schema is boring on purpose, and that is a feature, not laziness. A handful of tables - projects, posts, tools, testimonials, and a single-row site_settings - cover the whole site. The interesting part is Row Level Security, which lets one client serve public content and gate writes without a separate backend sitting in between:
alter table public.projects enable row level security;

create policy "projects_select" on public.projects
  for select using (published = true or auth.role() = 'authenticated');

create policy "projects_insert" on public.projects
  for insert to authenticated with check (true);
Read that select policy carefully, because it is doing real work. Anonymous visitors only ever see rows where published = true. The moment I sign in, the exact same query returns everything, drafts included. There is no bespoke "admin API" deciding what you are allowed to read - the database enforces it. Server components use a cookie-aware Supabase client so RLS sees the request as authenticated when I am logged in:
export async function createClient() {
  const cookieStore = await cookies();
  return createServerClient(SUPABASE_URL, SUPABASE_ANON_KEY, {
    cookies: { /* getAll / setAll bridged to Next.js cookies */ },
  });
}
Images, the CV, and project galleries live in a public Storage bucket called media, with the same authenticated-write, public-read pattern. The about-page portrait and the two hero images are just site_settings columns; if they are null, the app falls back to bundled defaults. That fallback habit is everywhere, and it has saved me from a blank hero more than once when a deploy raced ahead of a content edit.
One genuinely load-bearing lesson: keep your migrations in version control and treat the live database as something you db push to, not something you click around in.
A schema change you can read as a numbered SQL diff is a change you can revert. A schema change you made by clicking in a dashboard is a mystery you get to re-debug at 1am.
My supabase/migrations folder is the source of truth, and every change is one reviewable file.
The tools, and how this blog renders
The same CMS pattern powers the developer tools hub. Each tool is a registry entry keyed to a client component, so adding one is a short, predictable ritual rather than a new feature branch:
// registry.ts - one row per tool, looked up by key at render time
{ key: "json-formatter", label: "JSON Formatter",
  description: "Format, validate, and minify JSON in the browser." },
{ key: "regex-tester", label: "Regex Tester",
  description: "Test regular expressions with live match highlighting." },
Build the component, register it, add a metadata row, done. Most tools run entirely in the browser, which is the point: the JSON formatter, the regex tester, and the JWT decoder never send your data anywhere, so you can paste a real token or a real payload without thinking twice. For a portfolio aimed at developers, "useful and private" also happens to be excellent for SEO.
This post itself is just Markdown in a posts.content column, rendered with react-markdown plus remark-gfm and rehype-highlight. That is how the code blocks above get their syntax colours and why tables and task lists work at all. The body is wrapped in Tailwind's prose classes, so typography stays consistent without me hand-styling every heading.
What I would tell you to steal
If you are building your own, here is the short list of things that punched well above their weight:
- Gate every expensive effect behind visibility and reduced-motion. It is the difference between "impressive" and "unusable on a four-year-old laptop."
- Push content into a database with RLS so you can publish without deploying, and let the database, not hand-written API code, decide who reads what.
- Lean on server components for anything that does not need to be interactive. Ship less JavaScript and the whole site feels lighter for free.
- Build a few real tools. They keep you sharp, they help actual people, and they pull in steady search traffic that a static "about me" page never will.
That is the tour. If you want to see these pieces running, the projects page shows what the CMS drives, the tools are all free and run locally in your browser, and if you are building something similar and want to compare notes, my contact page is open. Deeper posts on the individual systems are coming, starting with the fluid sim, because that one alone is worth its own afternoon.
Read next
All posts
How to Become a Java & Spring Boot Developer in Sri Lanka
A practical roadmap to becoming a Java and Spring Boot developer in Sri Lanka - skills, projects, and how to stand out.
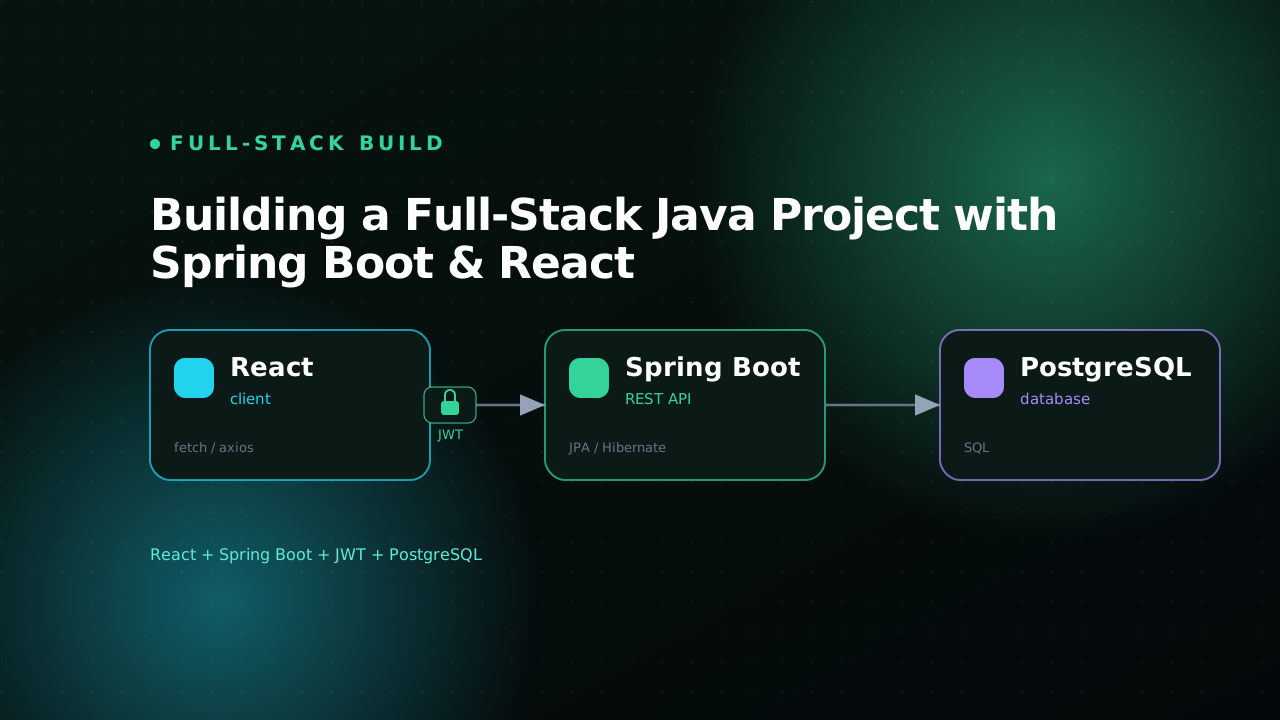
Building a Full-Stack Java Project with Spring Boot & React
A practical walkthrough of building a full-stack Java app with Spring Boot, React, JWT auth, and PostgreSQL.
Java Interview Questions & Answers (Core Java + Spring Boot)
Common Java interview questions and clear answers - core Java, collections, streams, and Spring - for junior developer roles.